How to Prepare Your Walls Before Painting
A Step-by-Step Guide for Flawless, Long-Lasting Results
A fresh coat of paint can completely transform your home—but without proper wall preparation, even the best paint can look uneven, peel, or crack within months. Many homeowners make the mistake of skipping prep work, which leads to frustration and wasted effort.
The truth is, preparing your walls before painting is just as important as the paint itself. With the right preparation, you’ll achieve a smoother finish, longer-lasting results, and save yourself from costly touch-ups later.
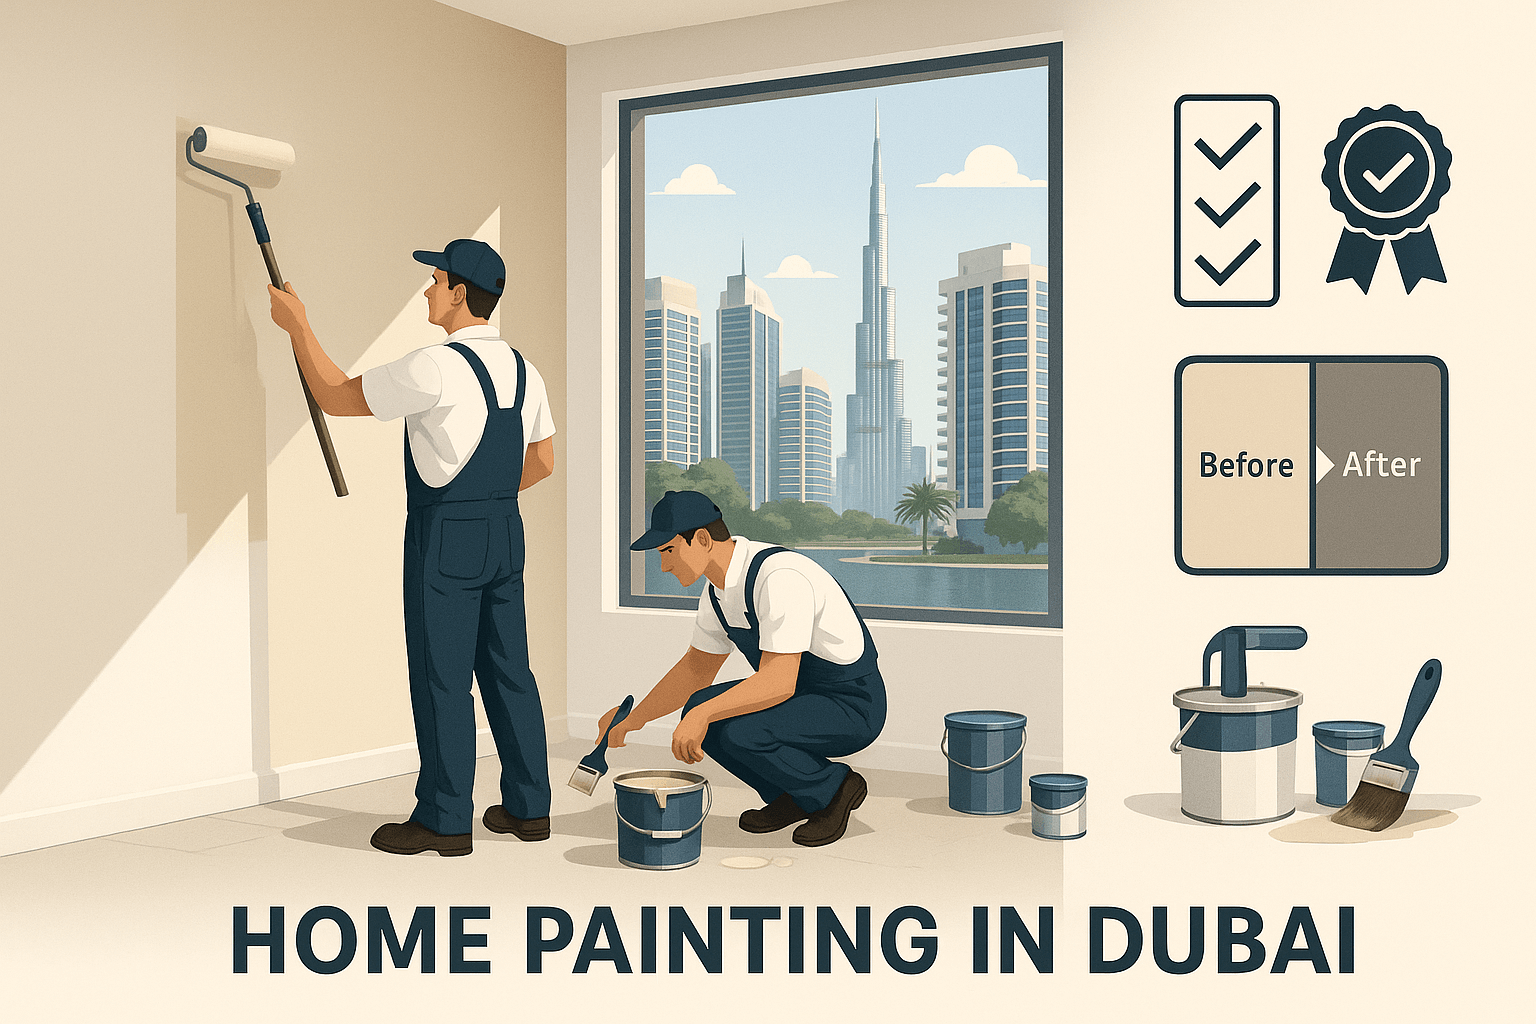
If you’d rather leave the hard work to professionals, our Villa Painting Service in Dubai specializes in wall preparation and painting, ensuring flawless, durable finishes. But if you’re ready to do it yourself, here’s everything you need to know.
Why Wall Preparation Matters
- Smooth Surface: Prepped walls allow paint to glide on evenly.
- Durability: Good preparation prevents peeling, cracking, or bubbling.
- Better Coverage: A clean, primed wall reduces the need for extra coats.
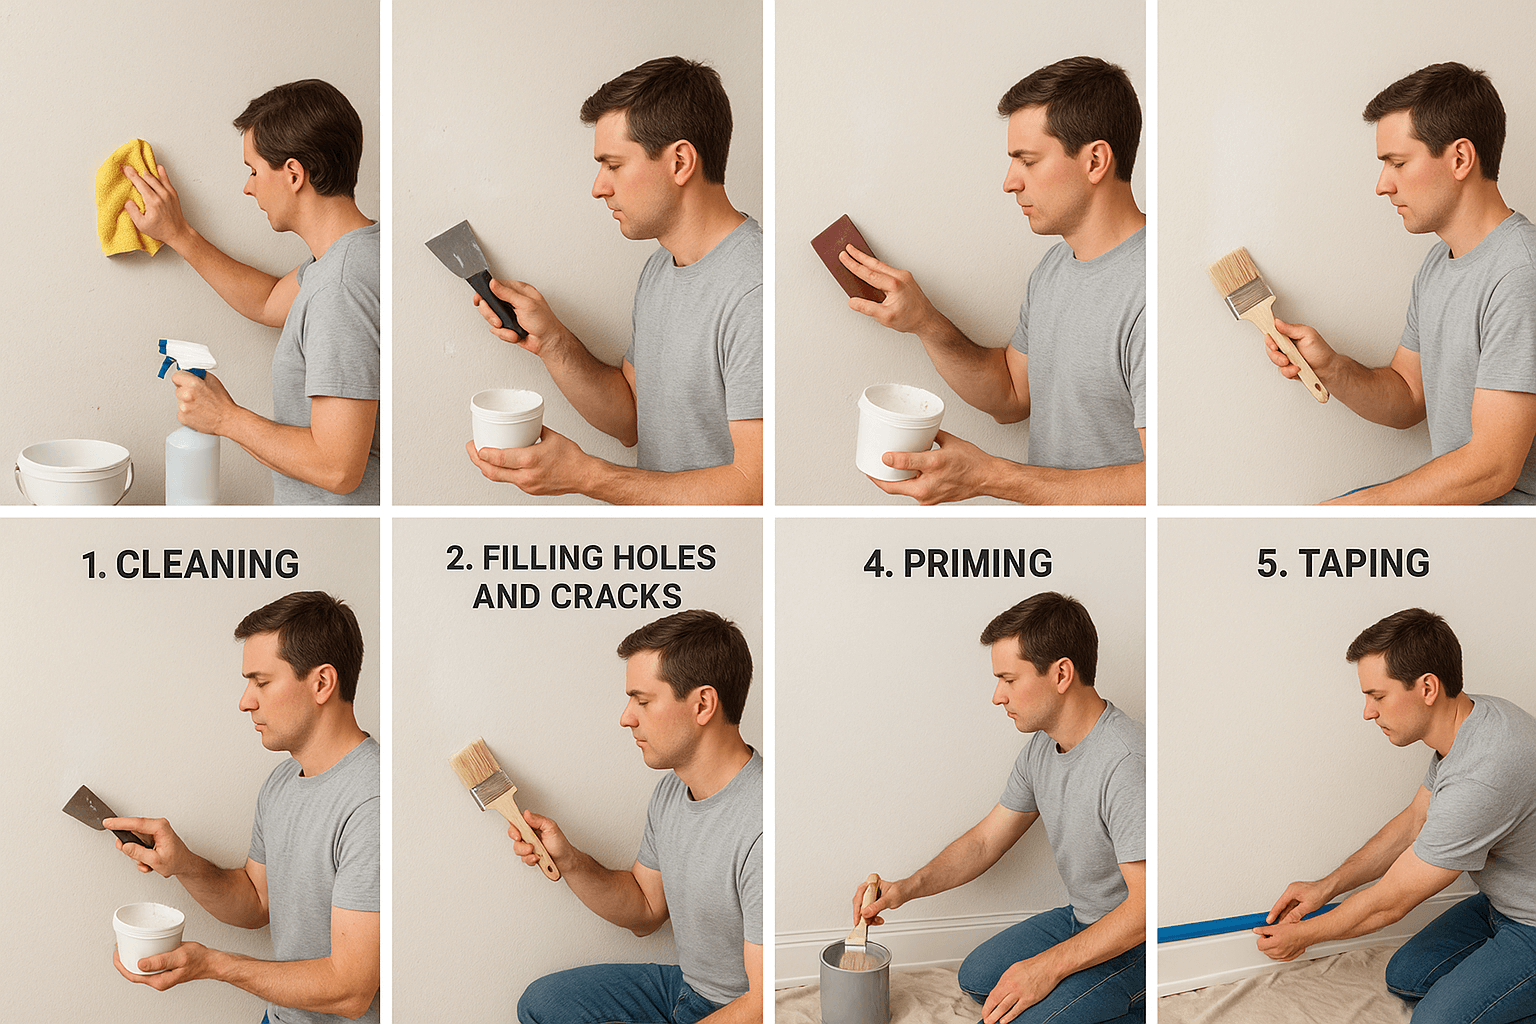
Step-by-Step: How to Prepare Your Walls Before Painting
1. Clean the Walls Thoroughly
- Remove furniture and cover the floor with drop cloths.
- Wipe away dust and cobwebs with a duster or broom.
- Use warm water with mild dish soap for greasy spots.
- Rinse with clean water and let walls dry fully.
2. Repair Cracks and Holes
- Inspect the walls for cracks, holes, and dents.
- Fill small holes with spackling paste; larger ones with joint compound.
- Let the filler dry completely and sand until smooth.
3. Sand for a Smooth Finish
- Use fine-grit sandpaper (around 220-grit).
- Sand in light, circular motions.
- Wipe walls with a damp cloth afterward.
4. Apply Primer
- On new drywall.
- When covering dark colors or stains.
- On glossy walls where paint may not stick.
5. Protect Floors and Furniture
- Cover floors with drop cloths or plastic sheets.
- Move furniture or cover it securely.
- Use painter’s tape along trims and edges.
6. Test Your Paint Color
- Paint a small section on the wall.
- Check it at different times of the day.
- See how it looks under natural and artificial light.
7. Final Checks Before Painting
- Walls are smooth and fully dry.
- All holes and cracks are patched.
- Dust is cleaned off.
- Primer is applied and set.
Common Mistakes to Avoid
- Skipping cleaning → causes uneven paint adhesion.
- Forgetting primer → leads to poor coverage.
- Using low-quality paint → fades or cracks quickly.
- Rushing repairs → imperfections show through.
Conclusion
Proper wall preparation makes all the difference between a paint job that looks temporary and one that lasts for years. By cleaning, repairing, sanding, priming, and testing colors, you’ll create the perfect canvas for your walls.
For those who prefer a professional touch, our Villa Painting Service in Dubai provides expert wall preparation and painting. Our team ensures smooth finishes, long-lasting durability, and colors that transform your space.
👉 Start your project with confidence—because great walls begin with great preparation.
Related Posts
Home Painting in Dubai – Who’s Responsible?
Learn whether landlords or tenants are responsible and why professional painters matter.
Read More
The Art of Purposeful Painting
Discover how purposeful painting transforms your home by setting the right mood.
Read More
Best Paint Colors for Creative Studios
Transform your studio into a vibrant hub of creativity with the right colors.
Read More